

Dockerizing a Hello World Express App and Uploading to GCP Artifact Registry


Our express app is a very simple API that listens on port 3000. And has a single endpoint of root, which returns a JSON message of Hello World.
Create a new folder named hello-express-app and cd into it.
mkdir hello-express-app && cd hello-express-app
Now that we are inside our project, let's initialize our project with npm, and install express and dotenv package.
npm init -y
npm install express dotenv
Create a file named index.js and paste the below code
import express from 'express'
import 'dotenv/config'

const app = express()

app.get('/', (req, res) => {
    res.json({'message': 'Hello World'})
})

const port = parseInt(process.env.PORT) || 3000

app.listen(port, () => {
    console.log(`Server running on port ${port}`)
})
Because we are using import statements, we need to go inside package.json and add the type as module.
"main": "index.js",
"type": "module",
Now that our project is set up, let's Dockerize it by running the below command.
docker init
We will now be prompted asking "What application platform does your project use?" Select Node, Press enter on the node version (16.13.2), and use NPM as the package manager. Also, we will be starting our app using node index.js. Lastly, we will be asked on what port our app will be listening to, enter 3000.
From the generated Dockerfile, I will remove the following section of the code.

Then will add the below three lines to the Dockerfile.
ENV PORT=3000
COPY ["package.json", "package-lock.json*", "npm-shrinkwrap.json*", "./"]
RUN npm install --production --silent && mv node_modules ../
Done now, we have our docker configuration set. Now let's build the docker image.
docker build -t hello-world-app-image .
#(if you are on mac m1 chip, run the below build command)
docker buildx build --platform linux/amd64 -t hello-world-app-image .
The above command will create our docker image with the tag of hello-world-app-image. You need the Docker Desktop running while using the command.
Now if we run the below command, we can see our image listed, you can also find the same by visiting the Docker Desktop application.
docker images
Let's run the docker container locally to check our application.
docker run -p 3000:3000 hello-world-app-image
Ok, now let's jump into the GCP console and onto our project hello-world-app.
In the search, search for Artifact Registry, and select it. You will now land on the Artifact Registry API page, here click Enable.

Once the API is enabled, you will taken to the repositories dashboard of your project.
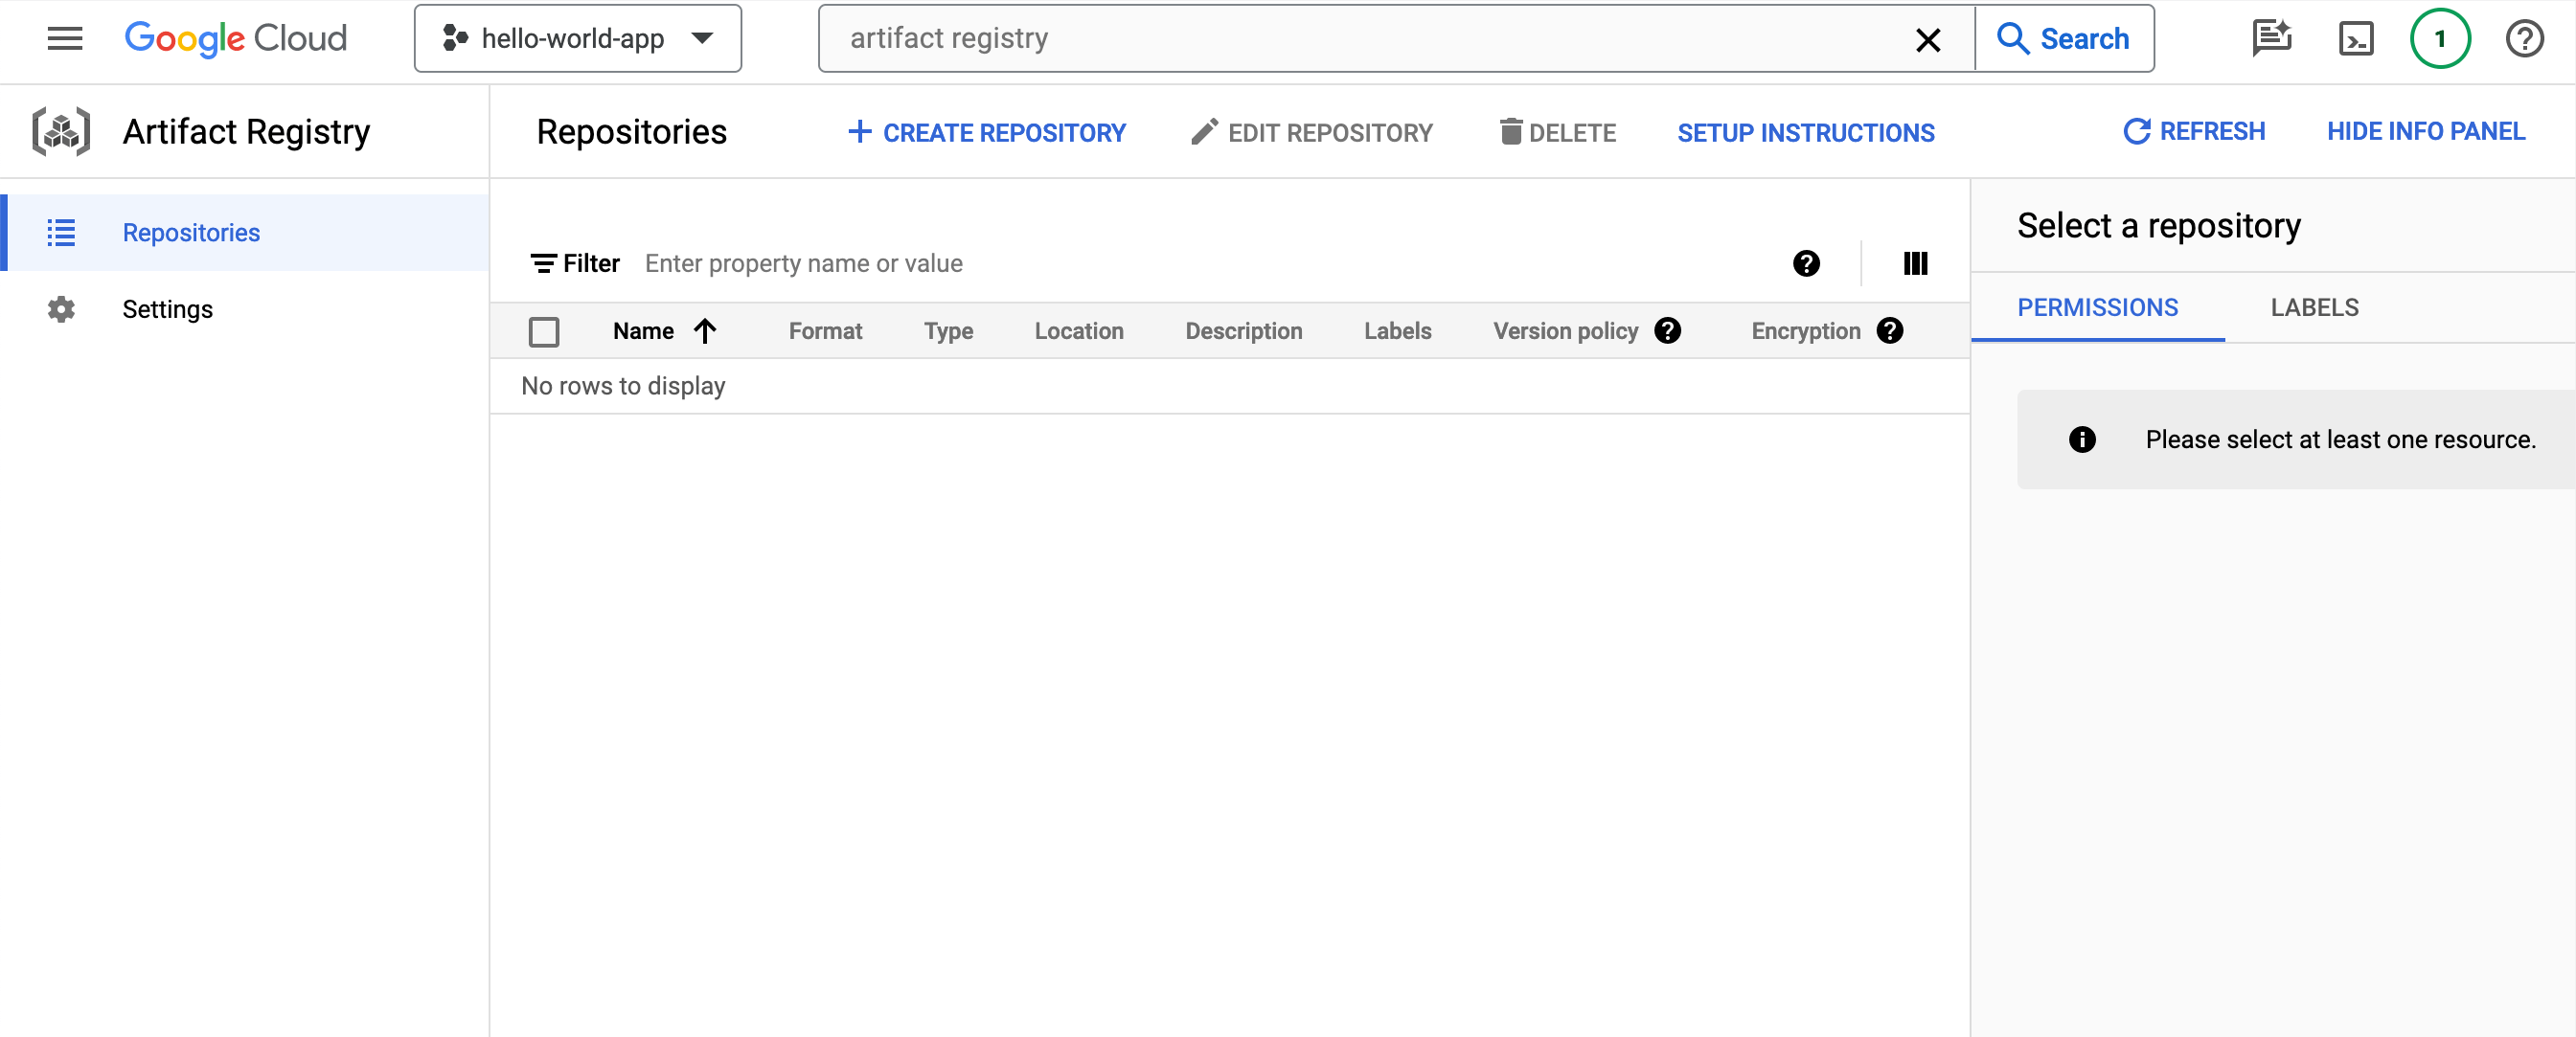
Here, click on Create Repository, and fill in the below details. We don't have to do much, just need to add a name for our repository, and select a region.

Once done, click Create by scrolling to the bottom.
Our Repository named hello-world-app-repository is now created.

Now if we click on the repository, we can see that we are yet to push our images.

While we are here, we can copy the repository path. We will need it later.
asia-south1-docker.pkg.dev/hello-world-app-411208/hello-world-app-repository
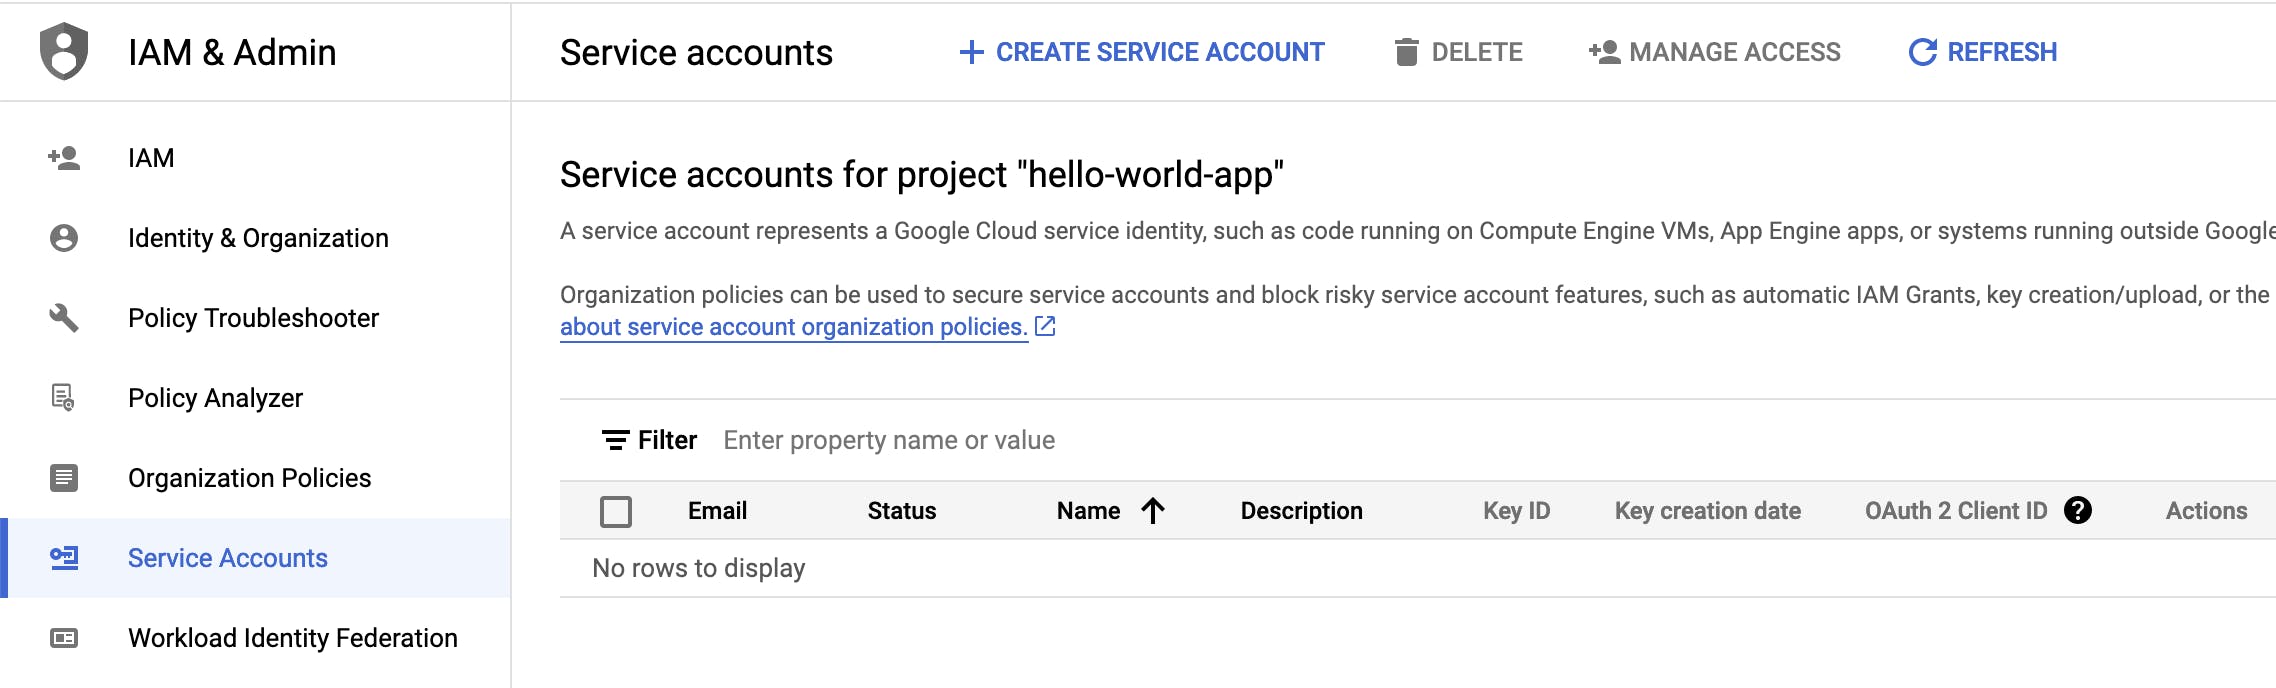
We will now focus on some IAM configurations. In the search, search for IAM and press enter. And in the dashboard, click on Service Accounts in the sidebar.

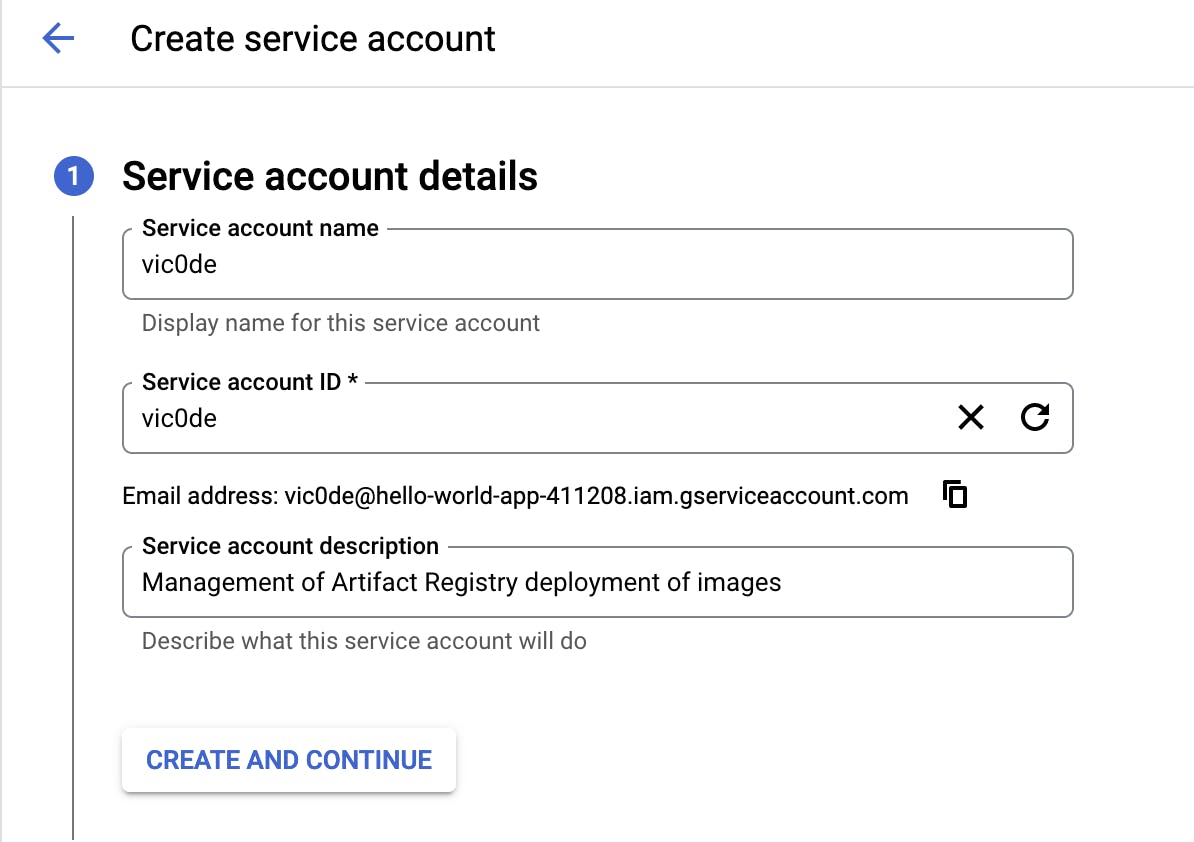
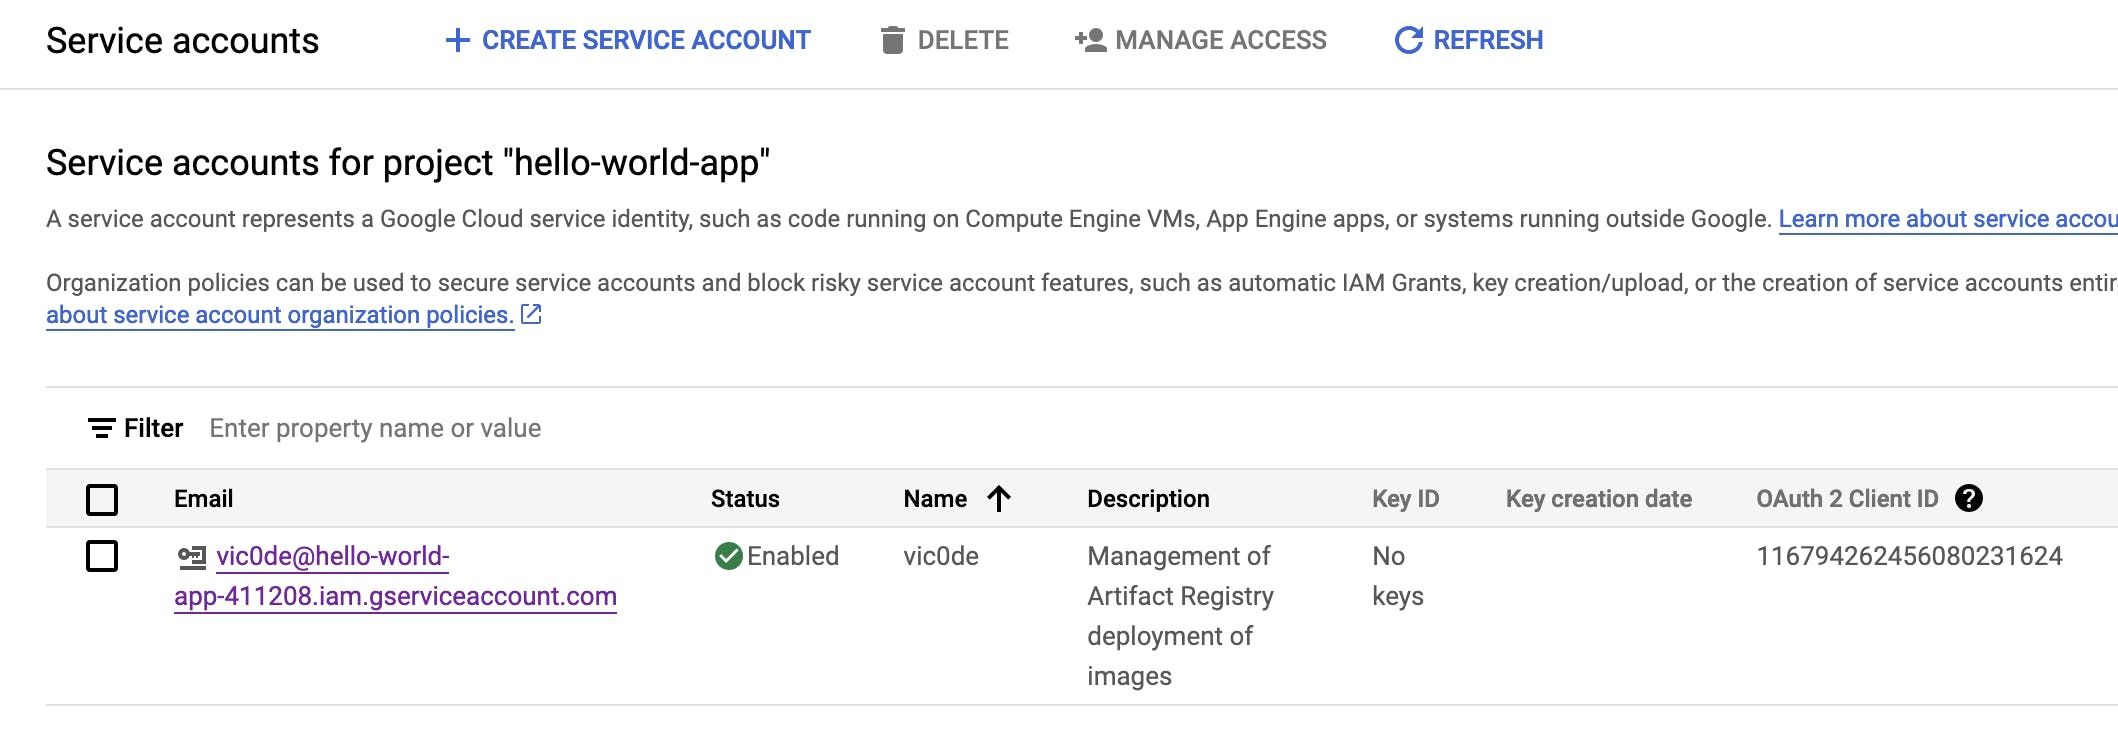
Let's create a new service account by clicking the Create Service Account button.
After filling in the details, click Create and Continue.
In the second config, give the roles Artifact Registry Service Agent and Artifact Registry Administrator. Then click continue and click Done.
Click on the service account, and we will proceed to create a key.
Here click on Keys
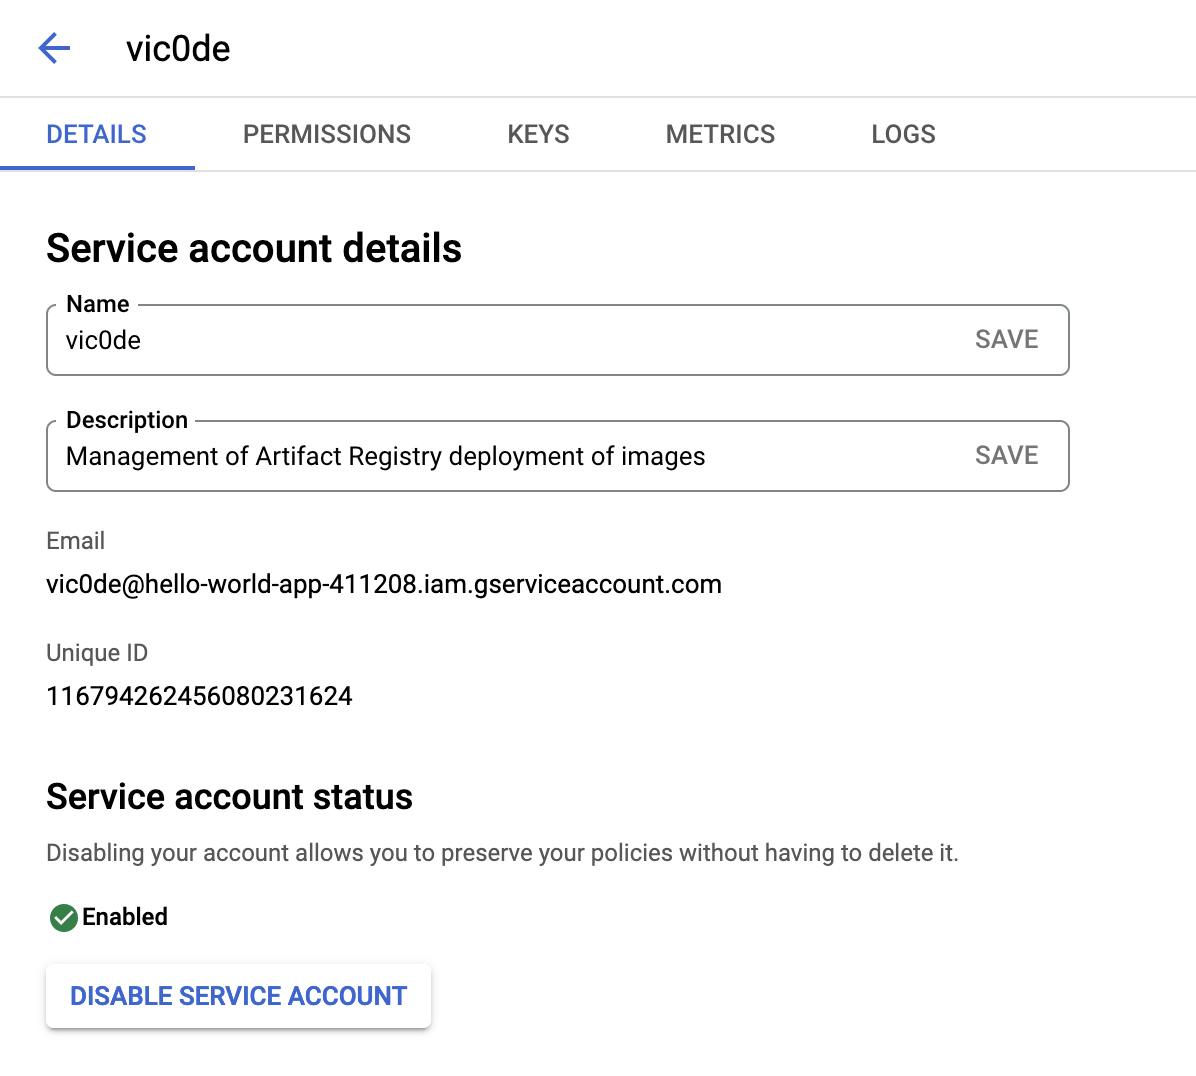
Then click Add Key.

Select JSON as the format of the key and click Create.

The service key will auto-download. Move the file to our project directory. The key has to be kept secret.
Now let's get back to our terminal, and tag the docker image with our project repository path.
docker tag hello-world-app-image asia-south1-docker.pkg.dev/hello-world-app-411208/hello-world-app-repository/hello-world-ap
p-image
Here we are tagging our image hello-world-app-image, with the repository path we copied earlier and appending to it our image name again.
Now let's activate the service account user we just created.
gcloud auth activate-service-account vic0de@hello-world-app-411208.iam.gserviceaccount.com --key-file={file-path}

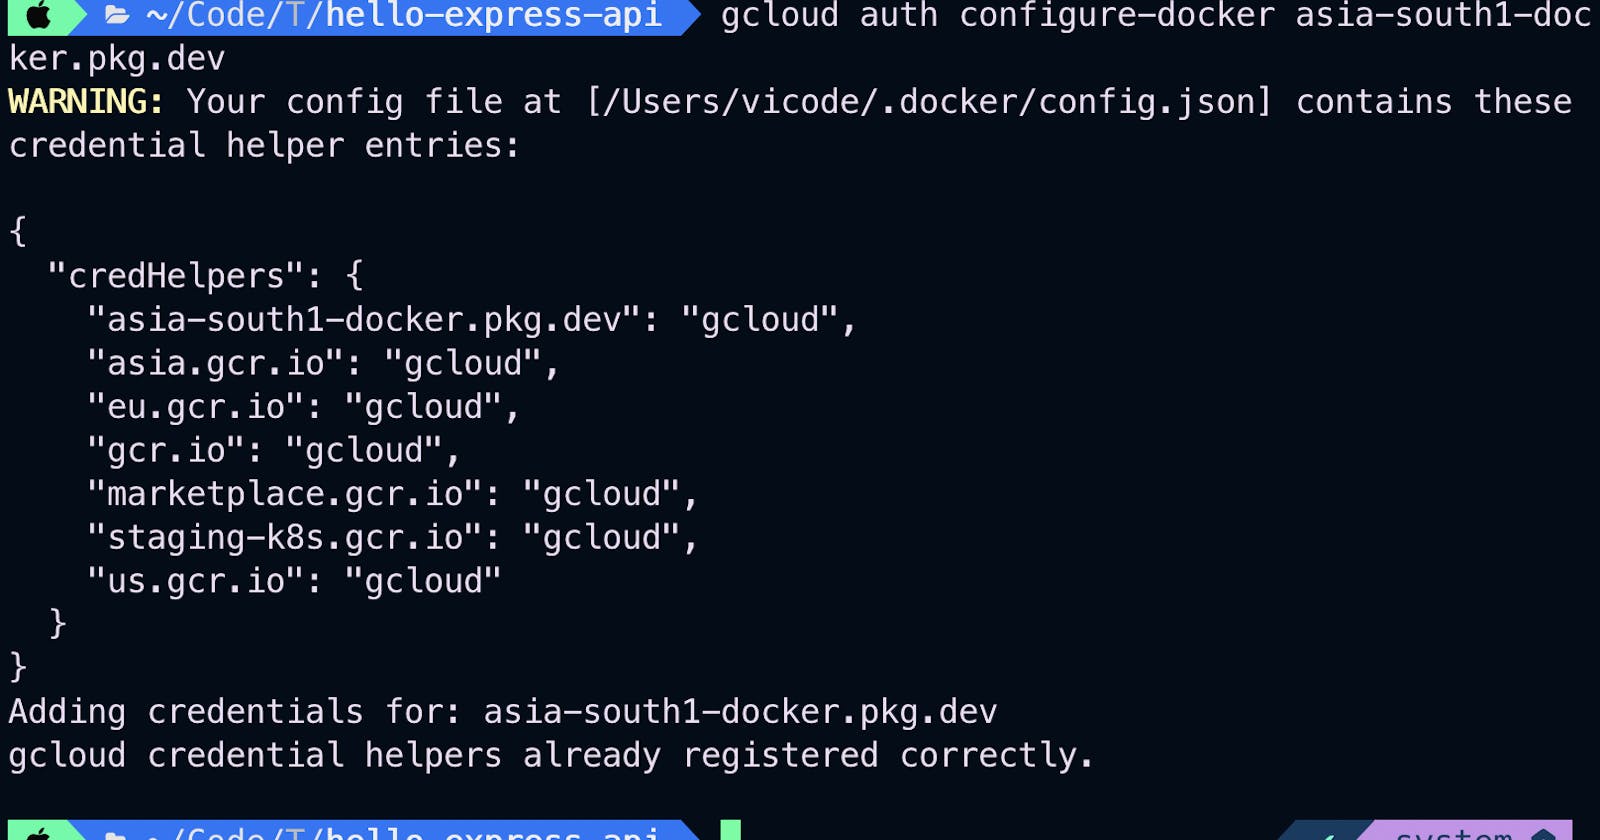
We have successfully authenticated, now let's generate gcloud credentials for docker.
gcloud auth configure-docker asia-south1-docker.pkg.dev

Now the final step of pushing the image to the Artifact Registry.
docker push asia-south1-docker.pkg.dev/hello-world-app-411208/hello-world-app-repository/hello-world-app-image
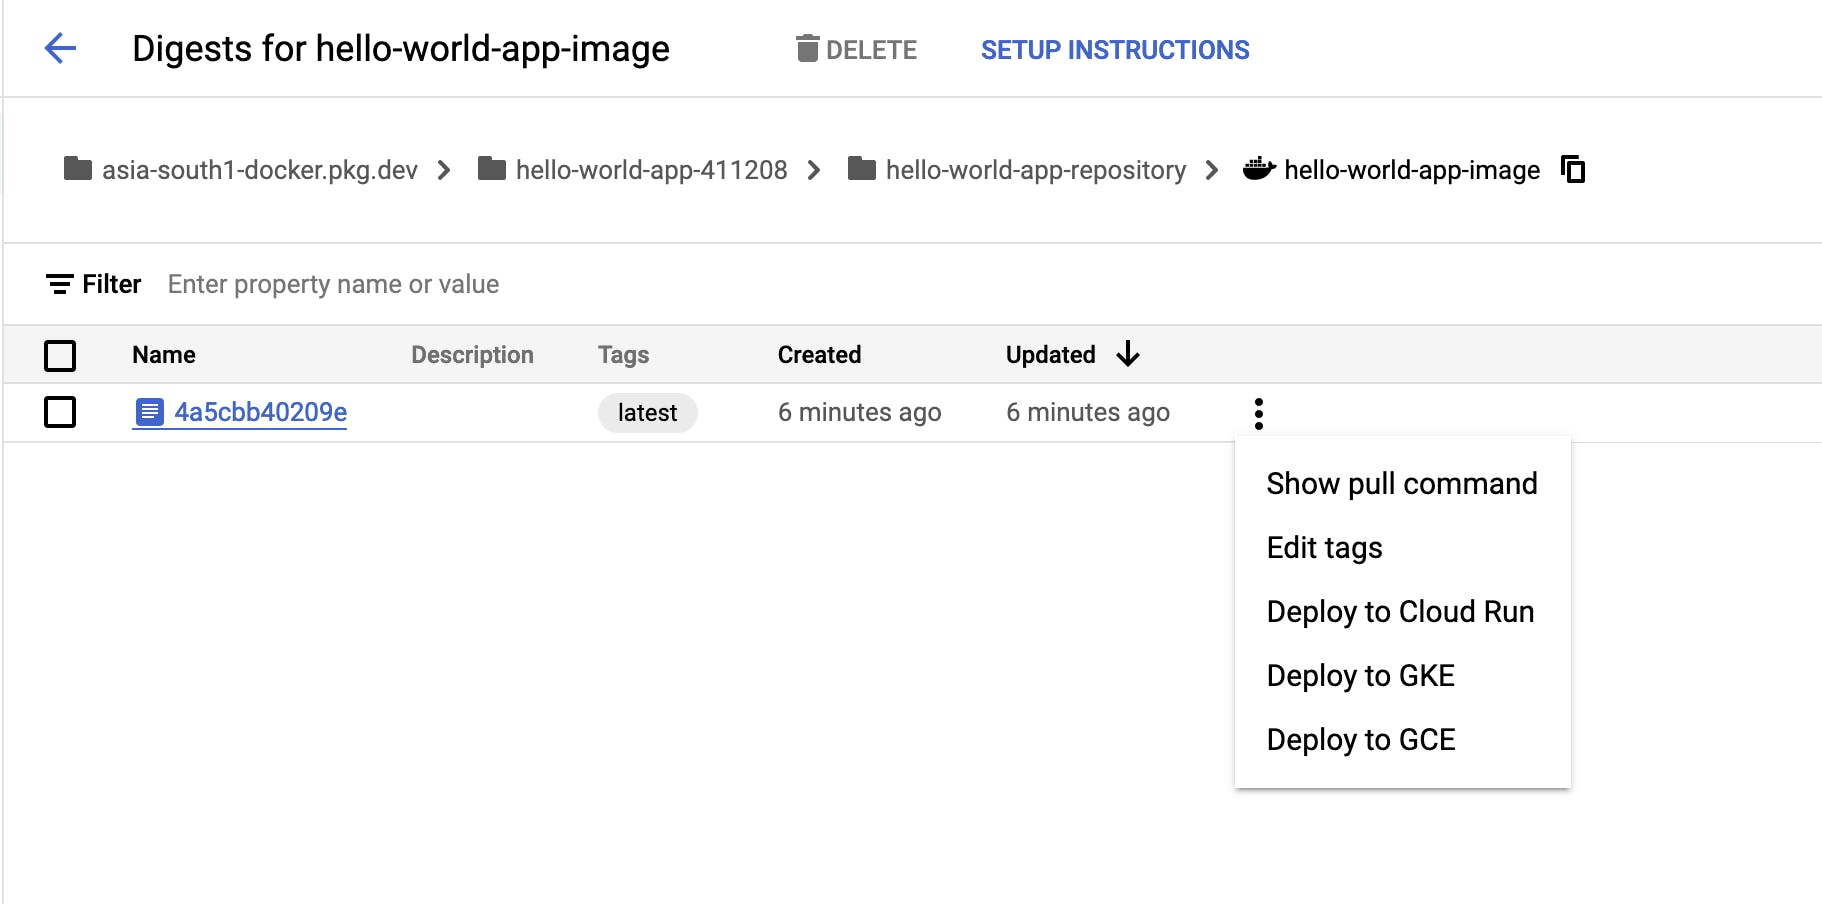
And we are fully done. If we visit GCP console, and search for Artifact Registry, and then click on our repository hello-world-app-repository, we can now see our image.

On clicking on our image, we can also see our latest build image releases. From here we also have the option to directly deploy the project to Cloud Run or other listed GCP services.
You can deploy the image to Cloud Run with the following command after giving the necessary permissions to the service account.
gcloud run deploy hello-world-server --image asia-south1-docker.pkg.dev/hello-world-app-411208/hello-world-app-repository/hello-world-app-image --port 3000
