Building a simple REST API using Nodejs, Expressjs, Prisma, and SQL - Part 01
Setting up SQL database in PlanetScale
Before we dive into coding, we will make a few decisions and lay out the API requirements.
As the title mentions, we will be using the Expressjs framework for our backend. And SQL for our database. To avoid writing direct SQL queries, we can use an ORM (Object Relational Mapping) library named Prisma. And to host the database we can go ahead with a serverless database platform named PlanetScale. The API server will be hosted on Railway.
The API project will be simple enough to grasp the basics of the libraries and tools we will be using.
Project Requirements:
User route to handle adding, editing, updating, and deleting of a user.
Habit route to handle adding, editing, updating, and deleting of a habit.
Log route to handle adding, editing, updating, and deleting of a log.
Routes to get all habits of a user and to get all logs of a habit.
The database will have three entities, User, Habit, and Log.
User
id
username
createdAt
Habit
id
name
metric
user_id
createdAt
Log
id
value
habit_id
createdAt
Let's start by creating a new project inside PlanetScale for our database. In the dashboard click on New Database and select Create New Database.
Then on the new page that opened, type in your database name and select the service provider (AWS or GCP) and the region of your choice. Below then choose your Plan type. If you are starting out go ahead with Hobby. Then click on Create Database.
On the page that asks you to select language or framework, choose Prisma. Then click on Create password and copy your generated password. And keep it safe.
Scroll below on the same page to find your DATABASE_URL, copy it, and keep it safe. And that's it. Now you are good to go with your Database setup.
Now we will continue on by creating our node project. After creating the project folder, do npm init. And install the needed packages.
We will be using dotenv for handling our environment variables. Express as we discussed earlier, will be the backend framework of choice. And Prisma as ORM and @prisma/client for query building.
npm install dotenv express prisma @prisma/client
Now create the following files, .env to keep our environment variables. index.js to write our main server code. And a folder named prisma and inside that create a file named schema.prisma.
touch .env index.js
mkdir prisma
touch prisma/schema.prisma
On the .env file, paste the DATABASE_URL we copied earlier.
Inside the schema.prisma file set the datasource db config and generator client.
datasource db {
  provider     = "mysql"
  url          = env("DATABASE_URL")
  relationMode = "prisma"
}

generator client {
  provider = "prisma-client-js"
}
Below the generator client config, we will write our entities schema.
model User {
  id        String   @id @default(uuid())
  username  String
  createdAt DateTime @default(now())
  Habit     Habit[]
}

model Habit {
  id        String   @id @default(uuid())
  name      String
  metric    String
  user      User     @relation(fields: [userId], references: [id])
  userId    String
  createdAt DateTime @default(now())
  Log       Log[]
}

model Log {
  id        String   @id @default(uuid())
  habit     Habit    @relation(fields: [habitId], references: [id])
  habitId   String
  value     Int
  createdAt DateTime @default(now())
}
With the above code, we have our schema ready for prisma. On VS Code you can install the extension Prisma. You will be seeing a squiggly line on the @relation lines. In the console run the below command.
npx prisma format
Now let's push the schema to PlanetScale with the below command.
npx prisma db push
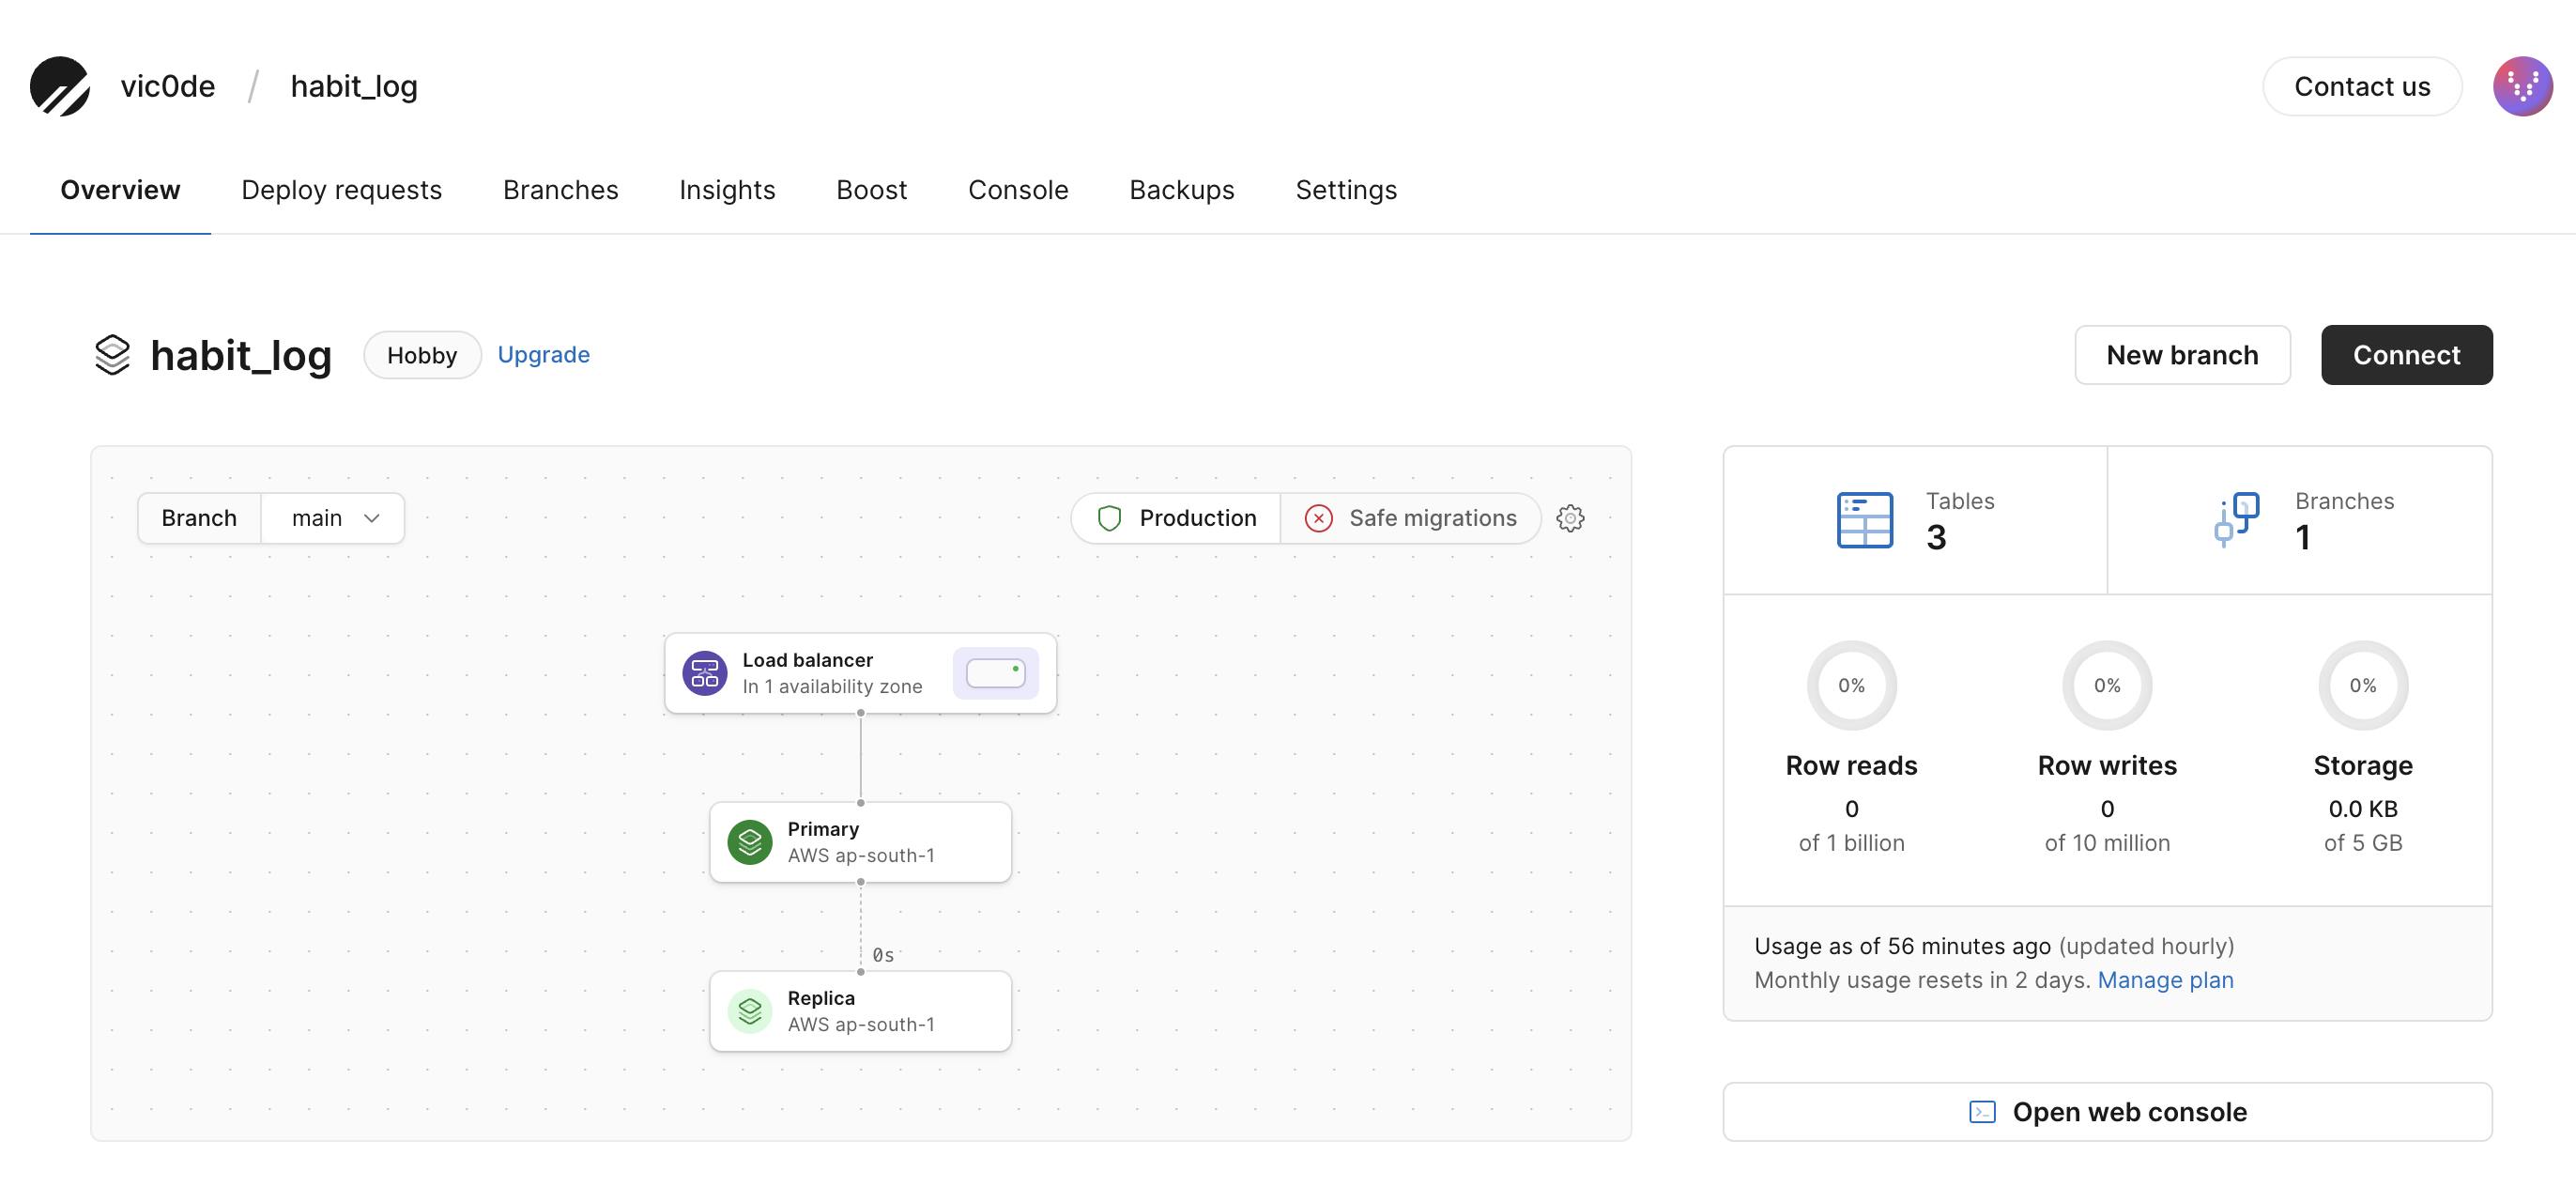
Visit your dashboard at PlanetScale again and click on the project. And in here, click on Tables, where it now shows the count of three for the three entities we created.

You can now see our entities listed.

That's it, we now have our database ready and live to receive and provide data.
